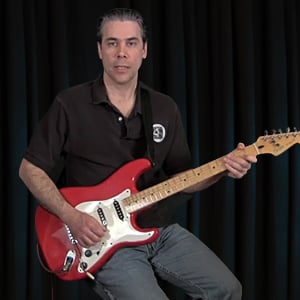
Description
In this tutorial we will look at a way of visualizing the guitar fretboard. First we will look at playing diatonic scales (major, minor and the various diatonic modes) in patterns that result in 3 notes per string. Because there are only 3 different shapes to learn, the result is that every natural diatonic scale can be played by using combinations of only these three basic fingerings. This is also a good way to get used to the musical alphabet note locations all over the fretboard. There will be a lot of backing track play along exercises to practice the ideas.
1. Whole step - half step
2. Half step - whole step
3. Whole step - whole step
Next, we look for places to play each pattern on 2 adjacent strings. This results in a symmetrical pattern making it easier to see and play any given pattern. Finally we take each 6 note grouping of 3 notes per string on 2 adjacent strings and visualize them in three different octaves across the fretboard. I call this repeating octaves.
This is a very important way of opening up the fretboard. Using this idea is how many guitarists are first exposed to the idea of "how to use all the strings" or "more of the neck". It's crucial to see that essentially the guitar, and all music, is patterns that get repeated over and again in different octaves, higher and lower.
Here are more tutorials covering different aspects of visualizing, playing and using fretboard scale patterns.
Visualizing Fretboard Patterns Series 2
Visualizing Fretboard Patterns Series 3
Visualizing Fretboard Patterns Series 4
Lesson Info
Tutorial Lessons
- Visualizing Series 1: Introduction
- Whole Step and Half Step Pattern
- Whole Step and Half Step Play Along
- Half Step and Whole Step Pattern
- Half Step and Whole Step Play Along
- Whole Step and Whole Step Pattern
- Whole Step and Whole Step Play Along
- Integrating All Three Patterns
- Integrating All Three Patterns Play Along
- Another Exercise With All Three Patterns
- Another Exercise Play Along
- Visualizing Series 1: Conclusion
