
Whether you're a beginner or experienced guitar player, you'll have to inevitably change guitar strings. Here are 6 simple steps on how to string a guitar.
Why Should I Change My Guitar Strings?
Guitar strings get worn overtime so it’s important to change them about once per month, or if you’re actively playing, once every two weeks. Even brand-new guitars need their strings changed because by the time the instrument gets to you, the strings may already be months old.
New strings are also the easiest and fastest way to improve your guitar’s tone. Let’s get started!
What You’ll Need
A pack of strings! Just make sure you get acoustic guitar strings if you’re using an acoustic guitar, and electric guitar strings if you’re using an electric guitar.
Strings have different gauges, too, which tells you how thick the strings are. A thicker string gauge will translate to a guitar that sounds a bit more full, but there will also be more string tension, making it a bit more difficult to play. This is a very simple overview of string gauge, but for the purpose of this blog post, we will not get into the details.
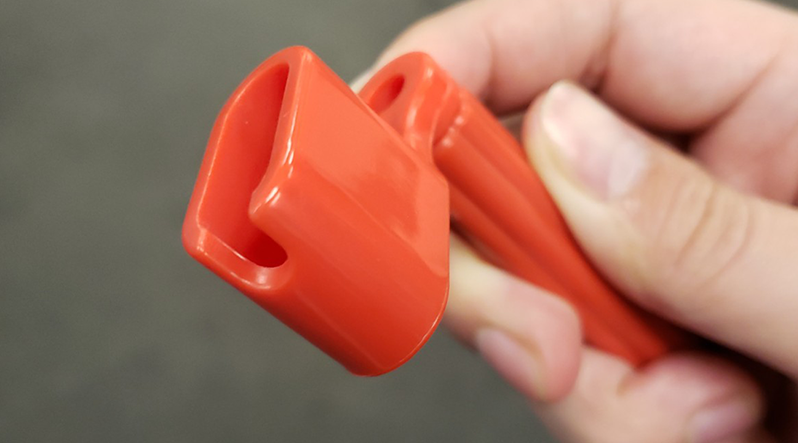
-String Winder
-Wire Cutters
-Strings
1. Loosen the strings
You can use a string winder if you have one, or you can do it by hand. Make sure the strings are loosened to the point where they don’t sound like anything.
2. Snip the Strings
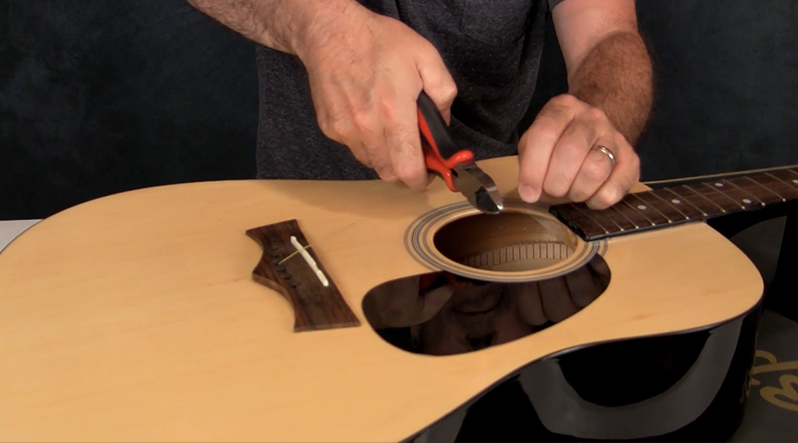
Using your wire cutters, cut the loose strings around the sound hole.
3. Remove the Strings

If you’re working on an electric guitar, you should be able to simply pull the strings out of the bridge saddles.
If you’re changing strings on an acoustic guitar, you’ll have to first remove the bridge pins. Most string winders have a notch on them that catches the pins, making it easier to pull them out.
Once you remove the ball-end of the string, you’ll have to completely unwind the other half of the strings that are attached to the headstock. Be careful when you do this since the tip of the strings are sharp.
Once you have the strings off, it’s always good practice to wrap them up in a circle so that they’re not at risk of poking you later.
You can recycle the strings through D’Addario’s website here.
4. Identify the Strings
Real quick, if you’ve never put new strings on a guitar before, it’s important to know that each string in a set is labeled by their gauge. The ball of each string will sometimes be different colors, which tells you the string’s gauge. Usually the colors are explained on the actual box of strings.
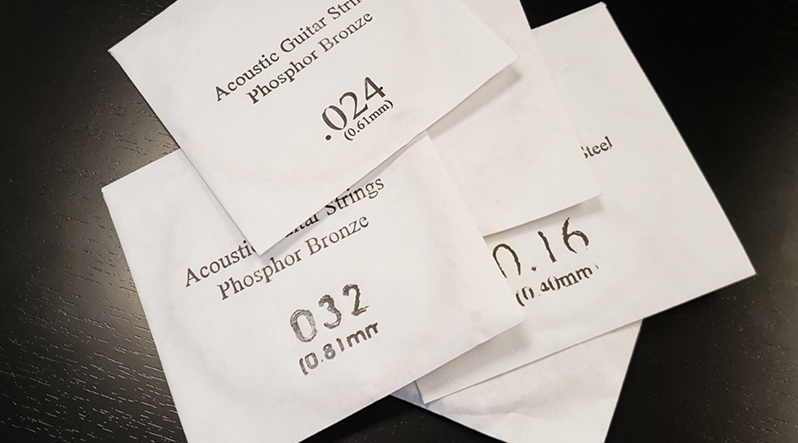
Alternatively, strings are often individually wrapped within a box set and the string gauge is printed right on the sleeve.
The higher the number, the thicker the string, and that’s how you know where to place each string. The string with the biggest number will be the low E string, while the string with the smallest number is the high E string.
5. Thread the Strings
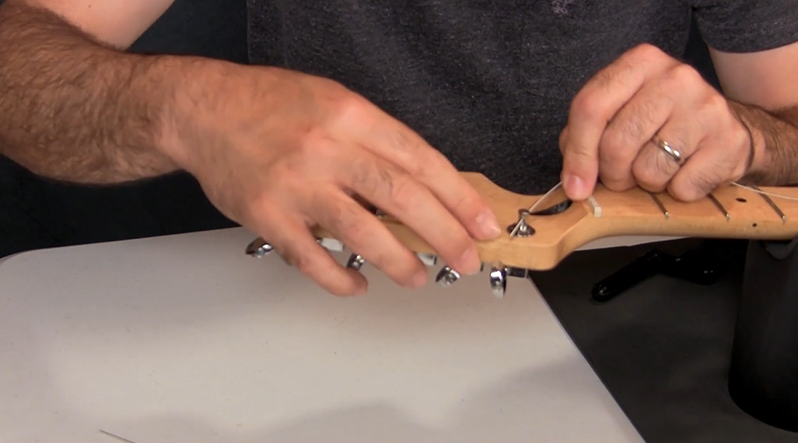
You want to start by stringing the low E string, and then the A string, then the D string, and so on.
Winding the string is fairly simple once you have it threaded through the tuning peg. You should also try to wind the string so that it wraps itself below the initial part of the string.
Don’t forget to use a string winder to make this process a little bit easier.
6. Stretch and Tune Your Strings
At this point you can tune each string and play! But remember: fresh strings need a bit of time to stretch so you can tug gently at the strings to speed up the process.
If you don't stretch the strings, they will go out of tune almost immediately after you put them on your guitar. You'll have to stretch them a bit before they settle.
And that's it! You've successfully re-strung your guitar. If you want a more in-depth look at changing your strings, you can check out our full online guitar lesson on changing guitar strings.
Get More Tips